 We finally did it!!! We transformed the most hideous room in our house into a lovely oasis! First, a history of our small home. Andrew and I decided to buy a condo instead of renting an apartment for our first years of marriage. We were looking for something affordable that we could pay for with a 15-year mortgage and that would ultimately become a nice rental property sometime in the future when we decide to purchase a house. With our limited budget we were looking for a place with good bones. In other words, we knew that we could change just about everything but the actual walls and beams.
 Therefore, we found our current home and knew that we were about ready for a very long adventure. All the floors were carpet except for a small area of lenoleum in the Kitchen and a patch of tile in the front entrance. Even still, the lenoleum in the kitchen is good for a laugh. Our home was built in the 90s and the white lenoleum has to be original because it is yellowed and scraped. Yes, that's right, the dining room, guest bathroom, and master bathroom ALL carpet. BLECH!
Since purchasing the home 2-years and 4-months later we have painted all the walls a dark truffle color (except the bathrooms), hung curtains on all the windows, added shelving to the office and garage, replaced all the lights, purchased new appliances (stainless steal refridgerator, stove, OTR microwave, dishwasher and red washer and dryer), tiled the dining room, and now renovated the guest bathroom.
Allow me to take you on a picture journey through 2.5 weeks of, I have to say it, hellish hard work. However, seeing the finished product, well worth all the effort! ...Is that how a mom feels after carrying and giving birth to a child?
Here are a few "before" shots:
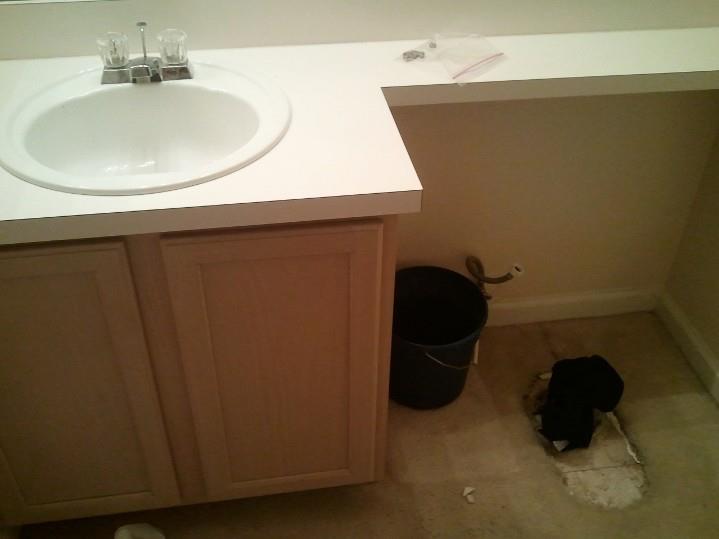


Unfortunately, by the time I remembered to start taking photos, we had already removed the toilet.

Next, we stripped the floors and cut out the ugly old vanity and sink.

Everything went into the tub, which we did not have to gut. It had real tile and was still in good condition (believe it or not). I wonder if that means the previous owners didn't shower much...hmm...


We then painted the walls a very light color: Behr Celery Sprig. Unfortunately, the color comes across as practically iridescent on my camera phone. I will be getting a new Lumia 920 this winter. I am so looking forward to the beautiful pictures it will be able to take!


There's Klaus wondering what we were doing to his home. After the main peices were laid Andrew measured and cut the special pieces.

Our beautiful new Ryobi Tile saw (we got it for $120 at Home Depot!). It made life soooo much easier.


Next, we lay the special tiles.


Now, it was time to clean the gaps and then to grout.


Then, I got to clean off the excess grout (FYI, we sealed the grout with a special chemical that mixes into the wet grout and lasts for 10 years. It is highly recommended for tiled areas that get lots of use.)

Finished Tile!
I was unable to capture on picture the sheer amount of agony installing the new vanity was for us. However, here are the finished pictures. We installed new racks, hooks, and lighting.

Installed vanity, toilet, and toilet paper bar.


Then it was the fun part!!! New towels and a shower curtain.


This is a print we purchased in Paris. It matches the grey, black, white, and green color pallet perfectly. We used to have it in our bedroom but that changed when I saw how awesomely it matched the bathroom!

Here is the final product shot (note that the shower curtain has my absolute favorite pattern of growing vines).

That was our summer adventure in July this year. I hope you all like it! We really love it and Andrew says it is probably his favorite room in the house. :D
What did you do this summer?
No comments:
Post a Comment