Showing posts with label recipes. Show all posts

Sunday, May 10, 2015

Whole Wheat Oatmeal Chocolate Chip Cookies


This recipe was born out of innovation. I was desperate for a cookie, ANY cookies, ME WANT COOKIES!!!! Or so the saying goes... However, I was nearly out of chocolate chips and I didn't have any all purpose flour or white sugar. So, I improvised. They hit the spot for me and then my husband tried them and I couldn't believe how much he loved them! Later I told him they were made with whole wheat flour and he was shocked. He isn't pro healthy substitutes when it comes to cookies. ;)

Not only are these cookies delicious but they also are a bit more satiating as they contain rolled oats. As I am prone to needing a snack at about four every day, one of these is all I need (ok, ok, ok maybe two and some milk :D).

Ingredients:


  • 1 1/4 cup whole wheat flour
  • 1/2 tsp baking soda
  • 1/2 tsp salt
  • 1/2 cup softened, nearly melted butter
  • 3/4 cup brown sugar
  • 1 large egg
  • 1 tsp vanilla extract
  • 1 tbs milk
  • 1/2 cup rolled oats 
  • 1/2 cup chopped pecans
  • 1/2 cup chocolate chips
Instructions:

I am lucky to have a Kitchen Aid stand mixer and therefore am pretty lazy about separating out dry and wet ingredients. I put the flour, baking soda, salt, butter, sugar, egg, vanilla extract, and milk into the mixing bowl and just turned on the machine until everything was blended together. I then added the rolled oats, pecans, and chocolate chips and combined thoroughly. However, if you do not have a mixer, mix the flour, baking soda, salt, sugar, and rolled oats in one bowl. Mix the butter, brown sugar, egg, vanilla extract, and milk in another bowl. Combine the two and then add the pecans and chocolate chips. 

Using a small spoon (teaspoon). Scoop out balls of dough and place on a cookie sheet. Bake for 10 minutes in the oven at 375 degrees. 

You will get between 12-24 cookies depending on how much dough you sample and how big you scoop your cookies. I know, you aren't supposed to consume raw eggs because of salmonella. So, here is your warning, don't eat raw cookie dough. But, for the rest of you rebels, enjoy! ;) 


Monday, July 1, 2013

Rosemary Chicken and Quinoa Brussel Sprouts


Brussel sprouts and quinoa, two of my new favorite ingredients. In this dish, the nutty flavors in both the quinoa and brussel sprouts blend delectably and make the perfect side dish. Top with your favorite meat (chicken breast here) and enjoy!

Makes 2-4 Servings

Ingredients:

3/4 Cup Quinoa (Cooked According to the Instructions on the Bag: 1 part quinoa to 2 part water, bring to a boil and then reduce to a simmer, covered, for 15 minutes)
3/4 LB Brussel Sprouts (Slice the stems off and Quarter)
2 Chicken Breasts
Olive Oil
Salt
Pepper
1/2 TBS Ground Rosemary

Prepare the quinoa according to the product instructions. Place quartered brussel sprouts in a saute pan and add 1/2 cup of olive oil. Cover, turn to high heat until oil begins to sizzle and then reduce to medium heat. Cook for 10 minutes or until the sprouts are tender, stirring occasionally to keep from burning.

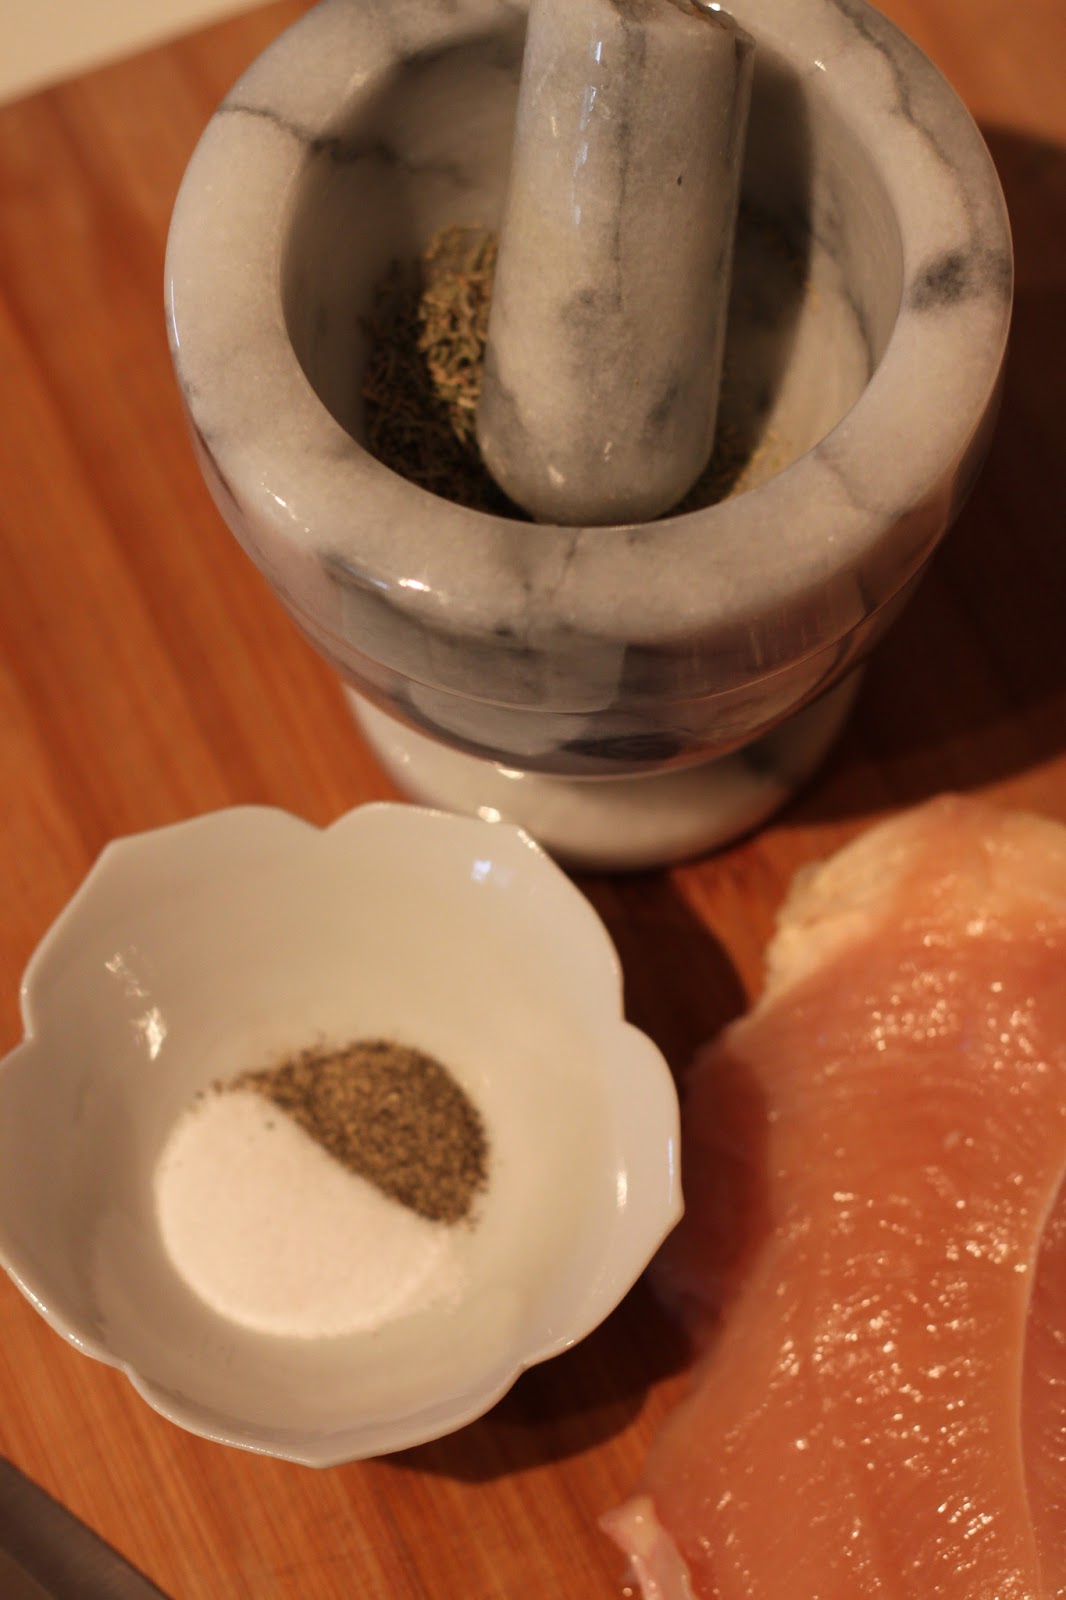
Prepare the chicken breasts with ground rosemary, 1/2 teaspoon salt, and 1/4 teaspoon pepper. Grill in a pan, or better yet, on the BBQ!

Fold the quinoa into the brussel sprouts and salt and pepper to taste. Serve the chicken atop the brussel sprout and quinoa salad.


Unfortunately, I defrosted my chicken in the microwave. This is why the edges are partially cooked. :S


Follow Me on Pinterest

Sunday, June 30, 2013

Sahara Hummus


Our favorite restaurant is Sahara which serves delicious middle eastern cuisine. Their hummus is some of the best that we have ever had. However, after many attempts, I have finally hacked the recipe. Now, my husband says that my hummus tastes even better. This is hands down his favorite dish. Hummus is easy, delicious, cheap and not all that bad for you.


Ingredients:

1 Can Garbanzo Beans (no salt added)
4 Cloves of Garlic (sliced)
1/2 Medium Sized Onion (cut into chunks)
Olive Oil
1/2 TBS Cumin
1/4 TSP Ground Red Pepper (with some additional for garnish)
1 TSP Salt
1/2 TSP Pepper
1 1/2 TSP Garlic Powder
1/2 TBS Lemon Juice
1 Package of Pita Bread


Pour the garbanzo beans into a pan along with 1/4 of the can juices. Add 4 tablespoons of olive oil along with the sliced garlic and onion. Cover and turn to high heat until oil starts sizzling. Then reduce to medium heat and cook for 10 minutes or until onions are tender, stirring occasionally.

Once cooked, pour all of the garbanzo bean saute into a food processor (or blender) and add cumin, red pepper, salt pepper, garlic powder, lemon juice, and 1 tablespoon olive oil.  Blend on high until smooth. I blend for at least 5 minutes in my food processor. The longer you blend, the smoother the hummus. The smoother the hummus, the more tasty the dish becomes!

To prepare the pitas, cut in half and spray with olive oil. Broil on high for 1 minute on each side in the oven.

Serve the hummus in a bowl topped with a little bit of olive oil and ground red pepper. Hummus is great as an appetizer or a side. Serve the hummus with a veggie salad for lunch or with garlic chicken for dinner.

Bon appétit!


Follow Me on Pinterest

Saturday, March 30, 2013

Eating Fresh: Fresh and Easy Hummus


After Andrew and I got sick with the flu this weekend, our stomachs couldn't handle any complexity or fats. So, we made a trip to sprouts to find some fresh foods to rebuild our strength.


Fresh and Easy Hummus

Ingredients:
1 can garbanzo beans
1 red bell pepper
Garlic powder
Salt
Pepper
Olive Oil

Directions:
Drain half of the water from the can of garbanzo beans leaving half of the juices still in the can. Dice the bell pepper. Add the garbanzo beans, juice, and bell pepper to a skillet and simmer on medium heat for 20 minutes. Once the bell pepper is tender, add the contents to a food processor adding 1 tsp of garlic powder, 1/2 tsp black pepper, and 2 tsp olive oil. Blend until smooth. Salt to taste and enjoy with vegetables or on pita bread!

For a quick and easy dessert, add some fruit juice to your ice cream maker and enjoy fresh sorbet!
Follow Me on Pinterest

Friday, October 19, 2012

DIY Cupcake Liners

I was baking pumpkin cupcakes yesterday for my parent's annual Fall corn maze and chili dinner party when I realized that I didn't have any cupcake liners! I did not want to have to run out to the store just to buy the paper liners, so I thought about how I could make them myself. It didn't seem very feasible to make paper liners as I didn't have the time to figure out how to do that. Then it struck me, foil! This was probably the easiest way to make cupcake liners EVER!

Supplies:
Pen
Scissors
Foil
Cupcake Tray
7-Inch Diameter Bowl

Here's how I did it:

First, pull out a long sheet of foil. Next, lay the bowl down on the sheet and outline the rim.
Next, cut the cirle out and center on the cupcake tray.
Use either the end of a pen or your fingers to smooth the foil into the shape of a cupcake liner.
Once, you are done, remove the liner from the cupcake tray and trim the extra foil with scissors.

And, voila! You have perfectly functional cupcake liners! This was so easy and the cupcakes baked perfectly. They are delicious.

Follow Me on Pinterest

Delicious Gluten Free Apple Crisp

We had some very sweet friends come over last weekend for dinner and games. They are doing a gluten free diet which caused me to have to expand my ingredient horizons. Here is what we made: Spicy Thai Noodles with Rice Noodles and Gluten Free Apple Crisp.

Thank you Small Snippet and Gluten Free Mommy! You made our night a success. After eating, we played a game of Settlers of Catan. So much fun!

I have to say that the apple crisp was DELICIOUS! We ate it for breakfast the next morning. Hey, it's gluten free, it must be healthy! ;)


If you are looking for a semi-easy gluten free dinner, these are the dishes that I recommend! Follow Me on Pinterest

Friday, October 12, 2012

Homemade Spaghetti and Meatballs


Spaghetti is comfort food to me. Not because I am instantly drawn to eating pasta when I am having a tough day but because spaghetti and comfort after a long difficult day will forever be engrained in my brain as synonymous. Back in highschool and college, if I had a bad day, I seemed to always come home and spaghetti was on the menu for dinner. My family would force me to sit down and eat and the meal would sink into me and warm me up inside. So, everytime I eat spaghetti, I instantly feel comforted.

Now that I am a married adult, it is my turn to establish a delicious recipe for spaghetti. My mom has a version and my grandpa another version. So, I decided to step out and create a spaghetti recipe all my own. Can I say that it is yummy?!?! IT IS YUMMY! Anyway, it is delicious and easy and, as my husband says, way better than premade jars at a store (that's right Ragu, I'm talking about you!).

Here it is:

Makes 4-6 servings

Sauce Ingredients:

1.5 Tsp Better than Bouillon (Beef)
1 Tsp Oregano
1Tsp Salt
1Tsp Pepper
1 Tsp Basil
1/2 Tsp Garlic Powder
2 Tbs Olive Oil
3 Large Garlic Cloves (Minced)
2 Cans Diced Tomatoes
1 Can Tomato Paste
1 Medium Sized Onion (Diced)

Meatball Ingredients:

1/2 Lb Ground Beef
1/2 Lb Sausage (either italian or breakfast, I only had breakfast and I couldn't tell at all!)
1 Egg
1 Tsp Salt
1/2 Tsp Pepper
1/2 Tbs Onion Powder
1/2 Tsp Garlic Powder
Olive Oil

To make the sauce, brown the garlic and onion together until transparent. Next, add the remaining incredients and seasonings and let cook on medium for 15 minutes. Now, here is my secret trick to speed the whole process up considerably. Poor all the cooked ingredients into the blender and blend until you reach a nice sauce consistency (to each his [or her] own). Return the sauce to the pan after blending and heat for an additional 10 minutes on low or until ready to serve. This is a good time to boil the water and cook the spaghetti noodles while making the meatballs.

To make the meatballs, combine all the ingredients in a bowl and mix well with your fingers. Next form into balls. My meatballs were approximately 2 inches in diameter. But, the size can be adjusted depending on how many or how few you would like. Coat the bottow of a pan in olive oil and heat. Place the meatballs in the pan and cook on medium twisting the meatballs to be browned on all sides with tongs occasionally until completely cooked (approximately 10-minutes). After the meatballs are cooked and browned on all side, place the meatballs in your spaghetti sauce and keep warm on simmer until ready to serve.

My recommendation is to serve this meal with either green beans or a nice salad with a side of garlic bread. However, as you can see by my picture, I was lazy (after my not-so-great day) and only made some garlic toast. However you like to serve your spaghetti, I hope you enjoy the meal!


Follow Me on Pinterest